Subscribe Now

lunedì 29 novembre 2010

Filter Cokin-Lee "How to"

Spot Light
by Stefano Cuccolini


A clever way to use filter ND GRAD to get great images.
Stefano Cuccolini tell how to do it.

Read this post:
"Sistema Filtri Cokin e Lee e test GND
Uno dei più grandi problemi per tutti i fotografi di paesaggio è dato dall'incapacità del sensore (o della pellicola) di cogliere la stessa gamma tonale e di contrasti percepita dall'occhio umano. L'occhio umano può cogliere un divario compreso fra 12-14 stop,......more"


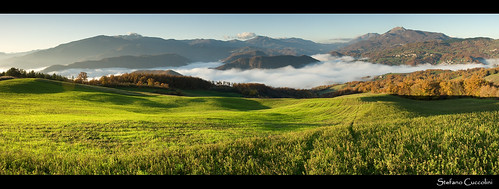
Appennino Reggiano Novembrino..

..waiting for Christmas


..waiting for Christmas
Inserito originariamente da Dylan@66
Me and my family started in these days to prepare the house for the Christmas.
We made up decorations for the tree, the house door and the piano.
My child has his private tree in his bedroom.
We like very much to decorate our house for Christmas.
The collage is a choice of the decorations of the tree. We bought in every place we go for vacation.

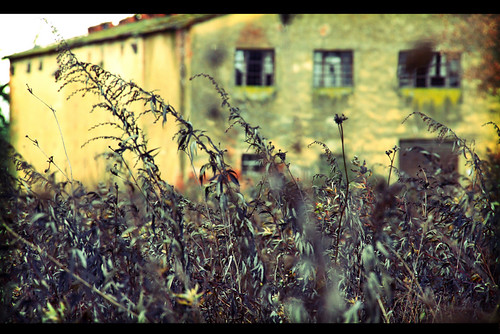
I made a post production that give to this image interesting tones, i achieved this applying 2 filter with Phostoshop.
The first is called Lomo and the second, that gives to it a dreamy aspect, is called Editorial.
I adjusted the light and the saturation as needed.

for more info about this filter drop me two lines me or write a comment.
bye


martedì 23 novembre 2010

Wall Street Journal about Valdarno (tuscany)

Riserva della Penna
Wall Street Journal has published an article about Valdarno valley (Arezzo) in tuscany.It seems to be one of the best valley of tuscany with its old village and its history.I'm partially agree with this, because tuscany has too much beauties to see and even though Valdarno has many interesting places i really think it's a bit more generous to say that.
the little church at the end of the bridge
Anyway it's certainly a place to visit, many amazing accomodations are available here , some areas more than others.The location is perfect to visit Arezzo,Florence, Siena, Perugia to say just the main towns around there.Let's read the article, i would be interested in what you think. I live in that area so...


Read the article

..the article is in italian (you can translate with google), i couldn't find the english version.
if someone that has the link to the english one ....


lunedì 22 novembre 2010

A post about me

Yesterday has been published a post in a poetry's blog. The subject is the introduction that the poetress Annino Cristina has wrote for my book "My Tuscany".

I'm really honored that they talk, in the post, also about me.

If have time give a look.


Post about me


bye

David

sabato 20 novembre 2010

Make a cartoon from your image

This is the first part of a little tutorial about how to cartoonize an image.
The same i followed to realize the image i posted.

I tried to simplify the tutorial because layers and mask tools that were used in they would be difficult explaining to you.

a dive into the reality

Well let's start.
It's better choose an image without human parts. Better if the colors of the image to carto0nize are pastel colors.

How to select a part of the image.
For making the selection there are many ways.
One of the easier (in photoshop) is to use the fast mask tool and to paint the area with a paint brush. Press the button showed (red colored) in this image

Acquisizione a schermo intero 20112010 11.05.42.bmp

...select the black as foreground color, then start to paint the area to be selected. When all the area is colored of red means that it's done. Release the button fast mask

(showed in the upper image) and the area will be surrounded by a selection. If you are not satisfied press again the button fast mask and repaint.
Using white as color foreground you cut out the part from the selection.

For the part with uniform colors a fill tool would be perfect, for the not uniform it's better to use a tool that posterize (photoshop) the colors.

Acquisizione a schermo intero 20112010 10.49.31.bmp

Open the image in your image editor and make a selection of the border of the umbrella and use the posterize tool.
Then go in Filter menu, then Artistic, Cutout( if are using Photoshop) and use this settings: number of level 8, 4 for Edge simplicity and 3 for Edge Fidelity.


Acquisizione a schermo intero 20112010 10.51.24.bmp


With the selection active use from Modify menu the Trace option, set to 9px and black color.

Acquisizione a schermo intero 20112010 10.54.27.bmp
Deselect the umbrella now and make a selection of the coat. Using a paint brush paint inside the selection. Use this color R:237 G:216 B:132.
With the selection active use from Modify menu the Trace option, set to 9px and black color.
maschera

Deselect the coat now and make a selection of the jeans. Using a paint brush paint inside the selection. Use this color R:23 G:56 B:107.
Acquisizione a schermo intero 20112010 10.57.10.bmp

Repeat the same 2 steps (paint brush and trace the border) with the boots but using the color R:220 G:149 B:181.


Final image.
before_C_Amber Wallace_2

That's all for now.
In the next article we'll the see how to go on.

This tutorial and the image of the girl with the umbrella are taken from an italian magazine called Photoshop Magazine (number 45, April 2010).

thanks and for any informations or else please contact me or leave a comment.
martedì 16 novembre 2010

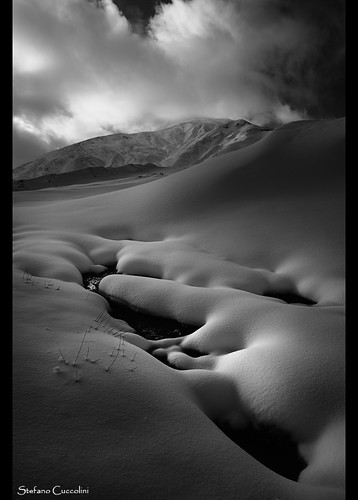
How to of "MMP - Misty Mistery Path"

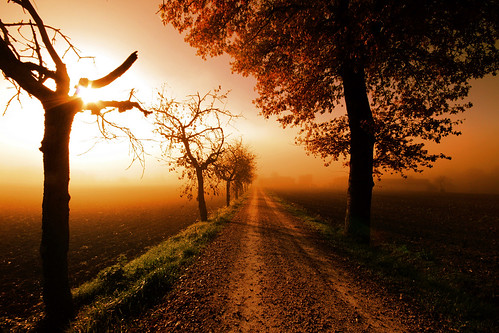
MMP - Misty Mistery Path

I used Photoshop cs4 to edit this image, but every other kind of editing image tool i think would be perfect.

The first thing is to choose an image with a great light or better with a misty atmosphere.


I just edited the Levels moving the dark and the light cursors toward the center of istograms. Be carefull do not burn the colors of the image. To do this in CS4 you can press the "Alt" button while moving the cursor. This allow you to see when the changement it's enough.


Then i edited the Curves adding more contrast to red (increase the fog effect) and green (not too much) and less to the blue.


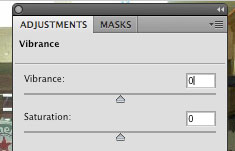
I added a little of Vibrance (+20).

Then i added a layer filled of a not so vivid red and i changed the Blending Modes to Multiply (or others depending how it works on it) and reducing the opacity of this layer till i reached the desired result.


Done this the image was as i wanted to do it and then i join the levels in one and i changed the mode of the image from RGB to Lab (to reserve colors in the next action).
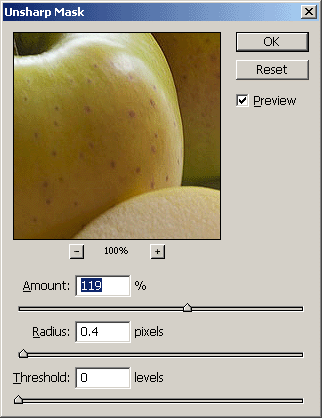
I applied a sharpening mask and re-applied the RGB mode.

It's done!

Next i hope to post also some image of the CS4's windows.

My first book: My Tuscany


In this collection of images, I have only included a small part of the photographs taken around the area where I live. I have called it « My Tuscany » because it does not include all of the Tuscan region but only my surrounding area and the parts which I like best.
More than 80 images, short introduction written by an italian poetress and painter, all the text has italian and english version.
Summary with images description.
This is not a travel guide.
hope you like it.


My book is also available:

- Ufficio turistico Pienza
Corso Rossellino,59 Pienza (Siena) Italia

- Pro-Loco Montepulciano
Piazza Don Minzoni,1
Montepulciano (Siena) Italia

- Chiesa di Santa Maria del Calcinaio
Cortona (Arezzo) Italia